AI, Protect Me!

Azure AD Identity Protection (IP) recently got a refresh (in preview). We will have a look into some of the enhancements. But first, I will give you a brief overview of what is it all about:
In a nutshell, IP handles two kind of things:
- Risky Sign-Ins
- Is the authentication request really coming from the authorized user?
- Can be triggered by:
- Atypical travel (10 PM: Sign-in from New York, 10:30 PM Sign-in from Frankfurt)
- Anonymous IP Address (e.g. Tor Browser)
- Unfamiliar Sign-In properties (Takes past sign-ins into consideration and checks for regular used devices, locations and networks to compare it with the current sign-in)
- Malware linked IP address (Microsoft researches IP addresses that are associated with malware)
- Risky Users
- Either a former Sign-In was risky (see above)
- Or Credentials have been leaked and Microsoft found them on any dark web marketplace or so.
The calculation of the Sign-In and User Risks is done by the help of machine learning.
Keep in mind that all machine learning technologies need learning periods. E.g. ‘Atypical travel’ needs like 14 days or 10 logins to learn the users sign-in behavior. ‘Unfamiliar sign-in’ whereas needs 30 days, during which it is passive. (see here for more info)
You then can create policies based on Risky Sign-Ins or Risky Users. In case of Risky Sign-Ins, you can challenge users for MFA, in case of Risky Users, you can prompt users for a password change (hopefully through SSPR) or you can block access in both cases.
That’s pretty much the basic functionality of Azure AD Identity Protection, except for one thing, we didn’t talk about yet:
Reporting
This is where the freshness comes in. Microsoft is investing a lot of effort into a clean overview to make it easy for the security administrator to see at one glance what is going on. In order to see how well reporting is in IP, we need to setup the risk policies and then produce some Risky Sign-Ins first.
Setup of Risk Policies
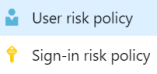
Pic1: IP Policies
Both, User and Sign-in risk policies consist of
- User Scope (who will be effected by this policy)
- Conditions (Low, Medium or High Risk)
- Controls


Pic2: Policy Controls
Now that the policies for Sign-in Risk and User Risk have been setup and assigned to the users, let’s play around with it:
We sign-in to Office 365 via a TOR Browser to anonymize our IP address:
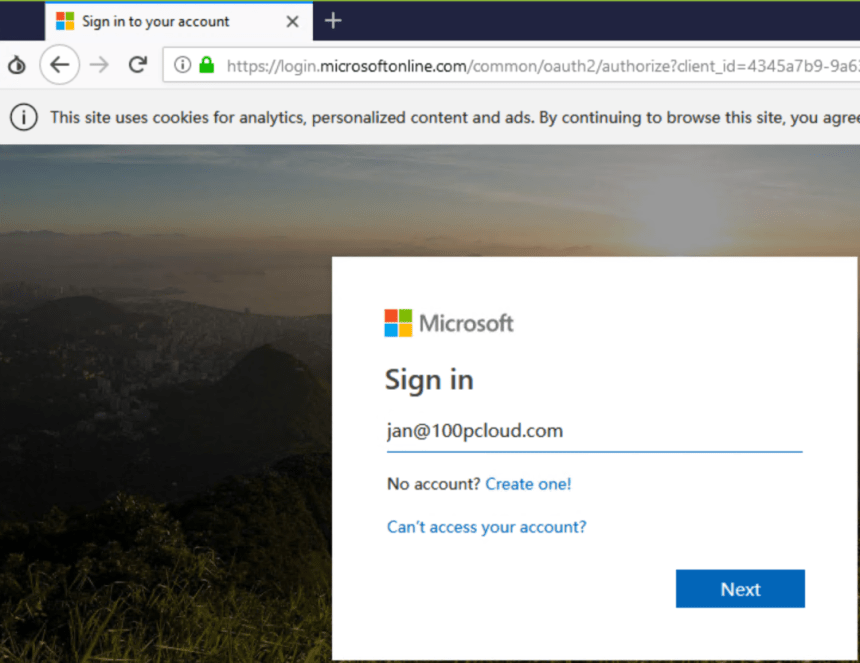
Pic3: Tor Browser
Shortly after we get a new risk as you can see in the brand-new risky users report:
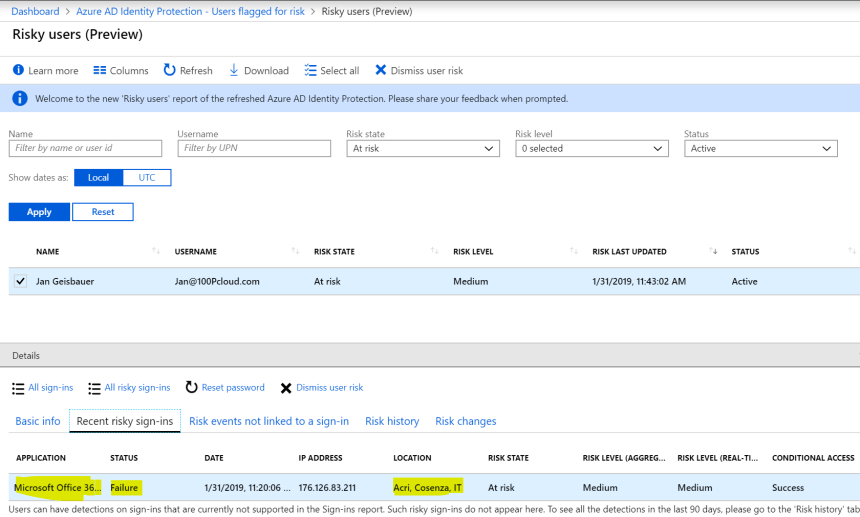
Pic4: Risky users
As you can see, we tried to login to Office 365 and didn’t succeed. The location is also interesting, you can see, the sign-in happened somewhere from Italy (while I am living in Germany) – this is since TOR is proxying all requests to other nodes in other countries.
In the ‘Basic Info’ tab, you get user info from Azure AD. ‘Risk events not linked to a sign-in’ is also interesting: Microsoft is continuously screening leaked credentials on dark places in the internet. So, if your credentials are sold anywhere out there, a risk is listed under ‘Risk events not linked to a sign-in’.
Until now, we do not know about the actual reason for the risk. Let’s click on the risky sign-in to get to the risky sign-in report:
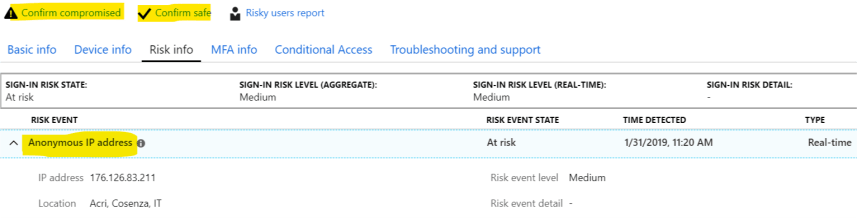
Pic5: Risky sign-ins
Here we have it: ‘Anonymous IP address’ was (as expected) the reason for the risk.
Now, your investigation as a security administrator starts. You will have to check with this user if she used a TOR browser by intention or if somebody else tried to logon with her credentials. After you found out, you can click on ‘confirm compromised’ or ‘confirm safe’. This will a) put the user on high risk if she was really compromised and b) help machine learning, well …, to learn.
Microsoft calls this “Smart Feedback” and this is also brand new (in preview).
This was an easy case (user connected by Tor Browser), as mentioned, your work starts after the risk was detected. You must investigate what’s really going on. So, what you need are really good and clean reports that you can filter, sort and customize. With this refresh of Identity Protection, the Risk reports have been enhanced a lot to support you in your daily job.
A word of caution: to test the policies easily, I set the condition to “low risk and above” and the scope to my “all users” group. After hitting OK, I immediately received this one here below and couldn’t work with the portal anymore. I then had to re-authenticate and … was prompted to authenticate and then to change my admin password. As you can see, those risk policies are really working
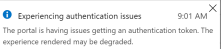
Pic6: I am out!
So, be sure whom you assign those policies and have a Break-Glass Admin Account (thankfully I had) that you always exclude from all policies (also in conditional access).
But that’s not all
This risk report data is also available via Graph API. Let’s have a look how that is working. We will use Graph Explorer to show which information we can get also programmatically:
https://developer.microsoft.com/en-us/graph/graph-explorer
You might have to give yourself the appropriate permission, if you see this:

You will need:
![]()
Make sure you are logged in to graph explorer and use the new beta API, then try for example “identityRiskEvents”:
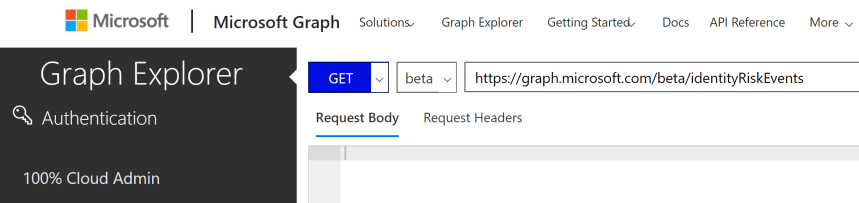
Pic7: Graph explorer
When I do that, I see the same sign-in risk we saw earlier in the GUI:
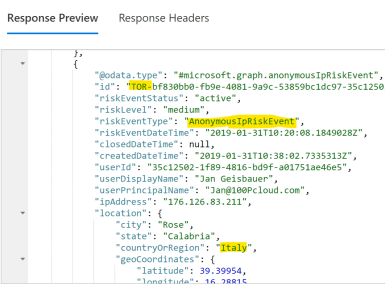
Pic8: Graph response
As you can see, you even get some extra information, like the geographical data of the IP location.
