The New Unified Identity SecOps Experience

The new Unifed Identity SecOps Experience brings together information from Azure ATP, Microsoft Cloud App Security (MCAS) and Azure AD Identity Protection.
In this blog post, we will look into the new UI and evaluate which value it has. However – as always-, I am trying to add a little ‘spice’ and therefore we will build in some mimikatz action. Be excited :-).
Even in a 100% cloud world (if it is a company of a certain size) we will not get rid of the local Active Directory anytime soon. That means we need to synchronize users between the on premises AD and the Azure AD and this makes the on-premise AD a possible attack vector for Azure AD / O365 services.
Imagine an ‘on premises’ attacker wants to take control over the CEOs personal data (in OneDrive). I will walk you now through the complete kill-chain of such an attack and show you meanwhile where the new improvements and the known features of MCAS can help to detect an respond to the attack:
Let’s assume the credentials of a user account called “Jule” have been compromised. An attacker is then utilizing those credentials to logon to Jule’s laptop and later running some tools to get higher privileges.
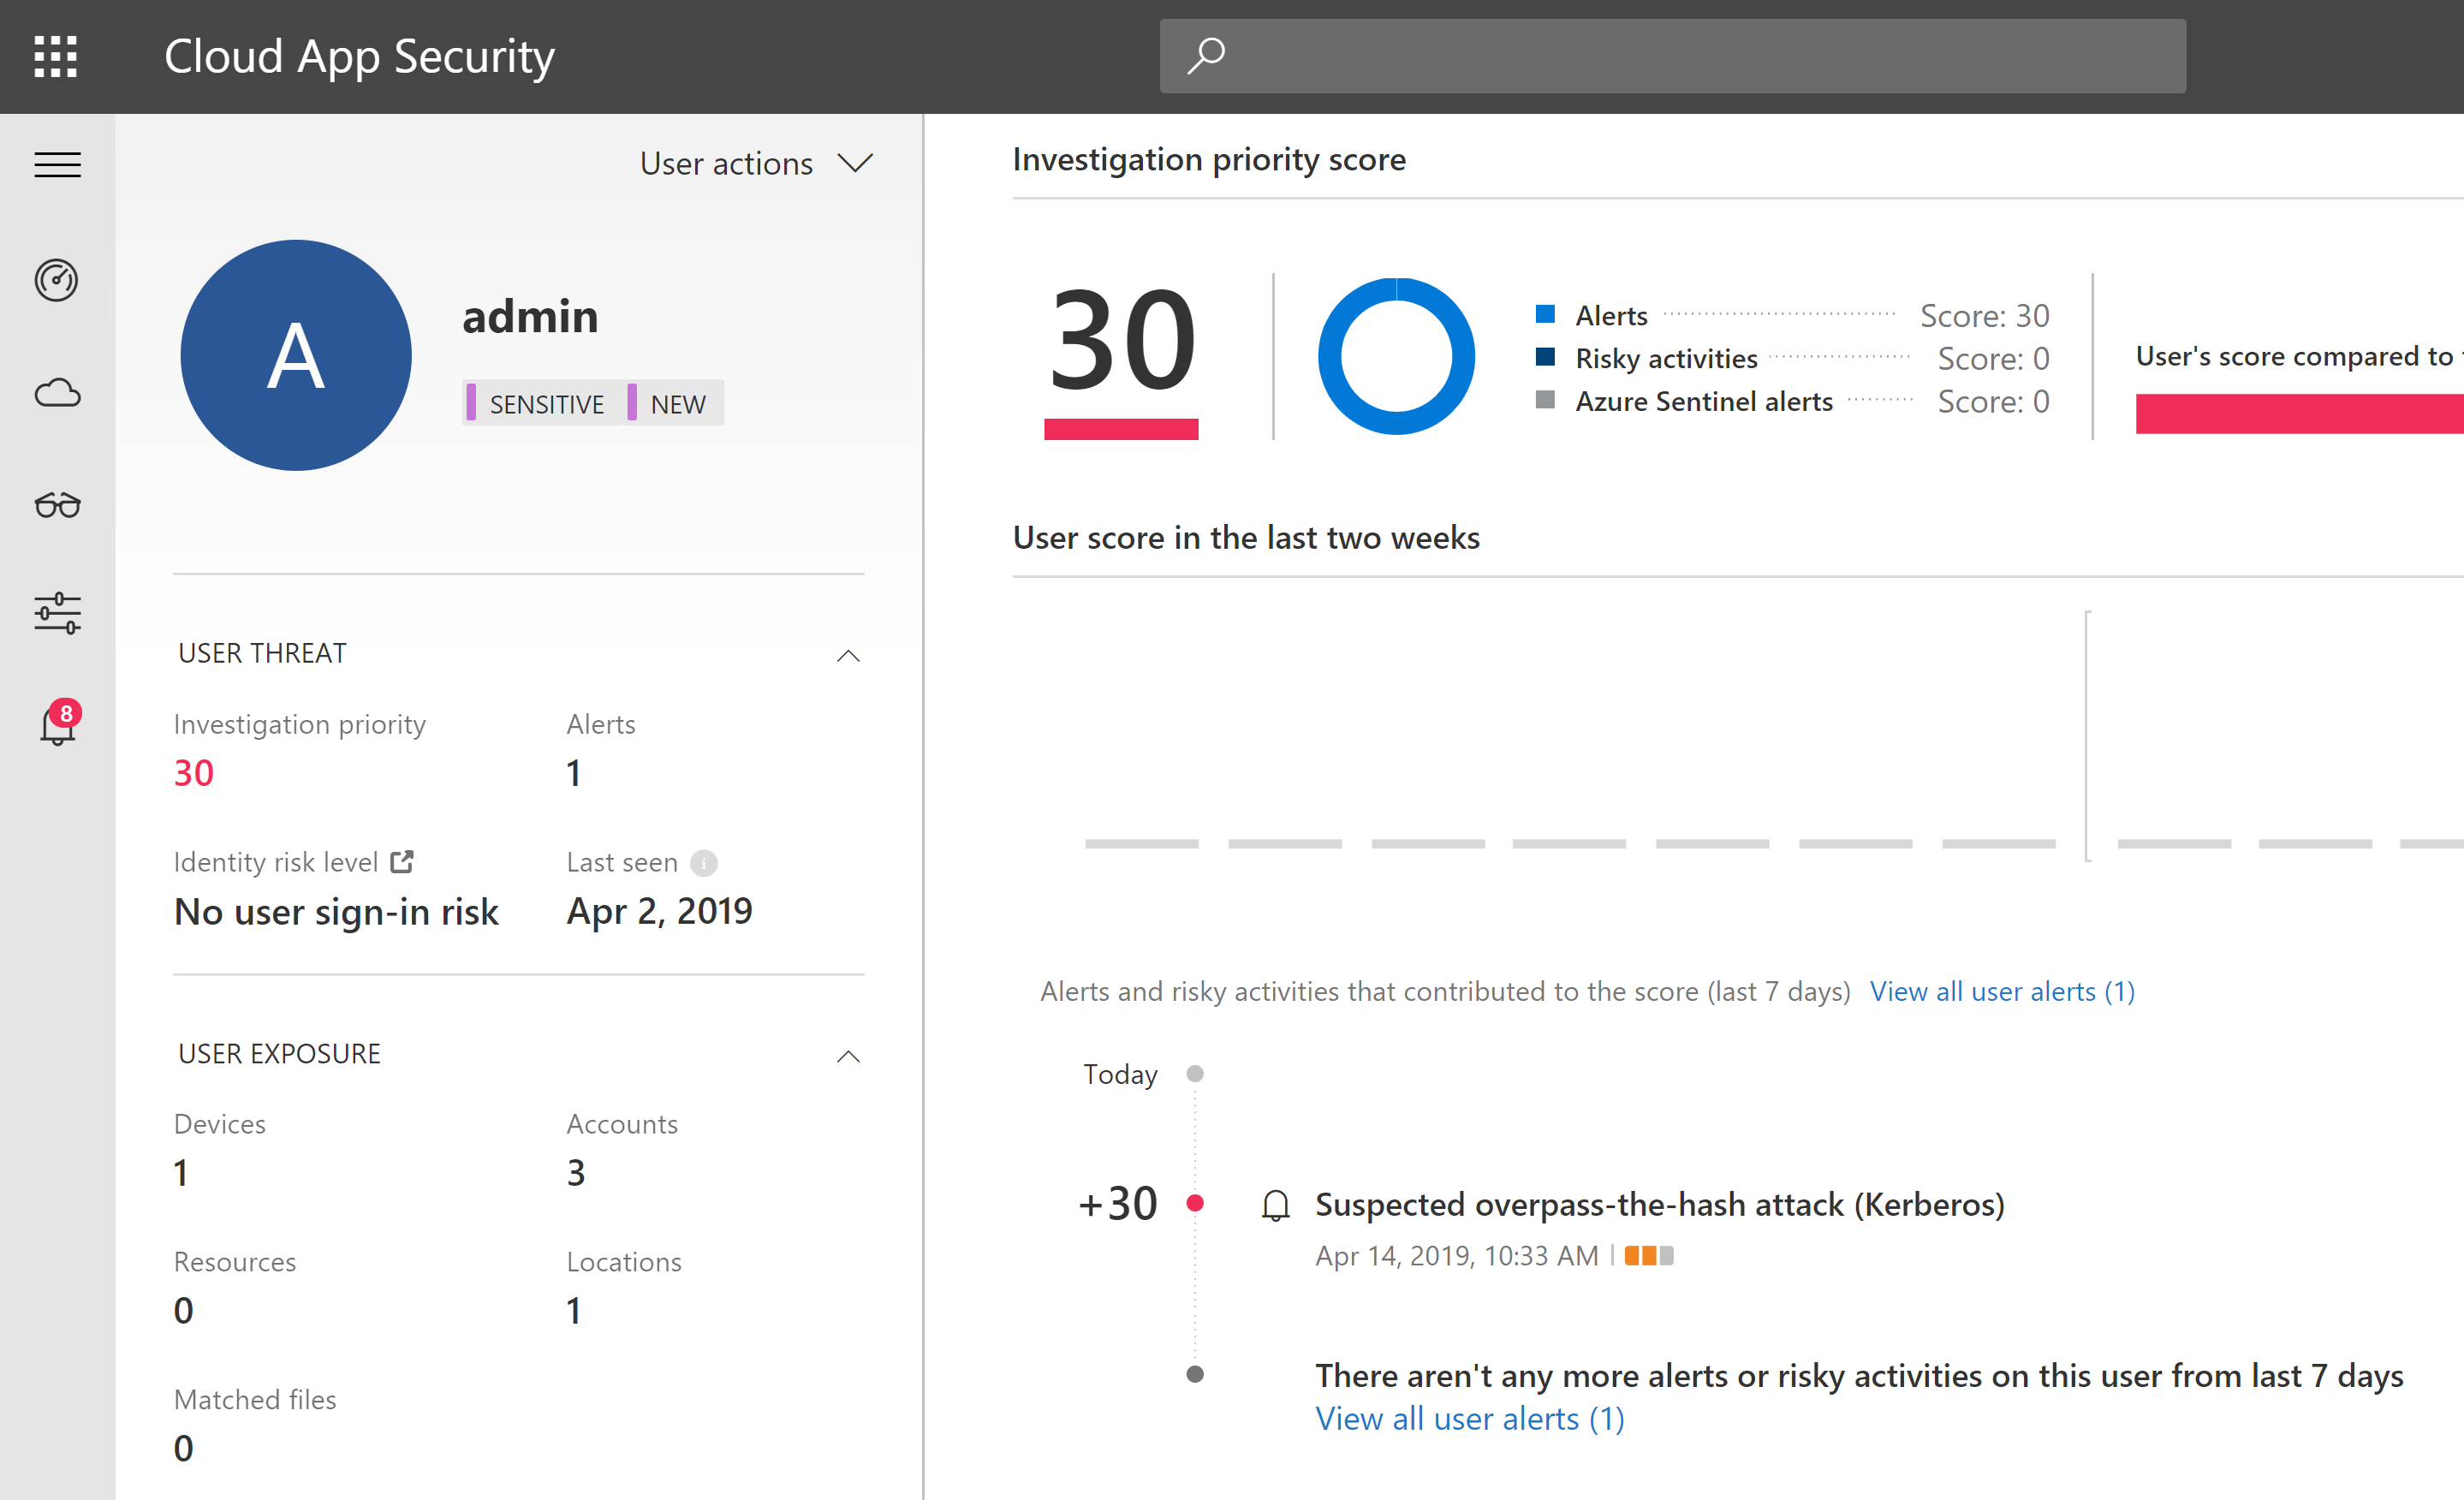
Azure AD Identity Protection has recognized that the credentials may have been compromised and has created a risky sign-in alert. Since this information is now synced with MCAS, we see an increase in the “investigation priority score” of “Jule”:
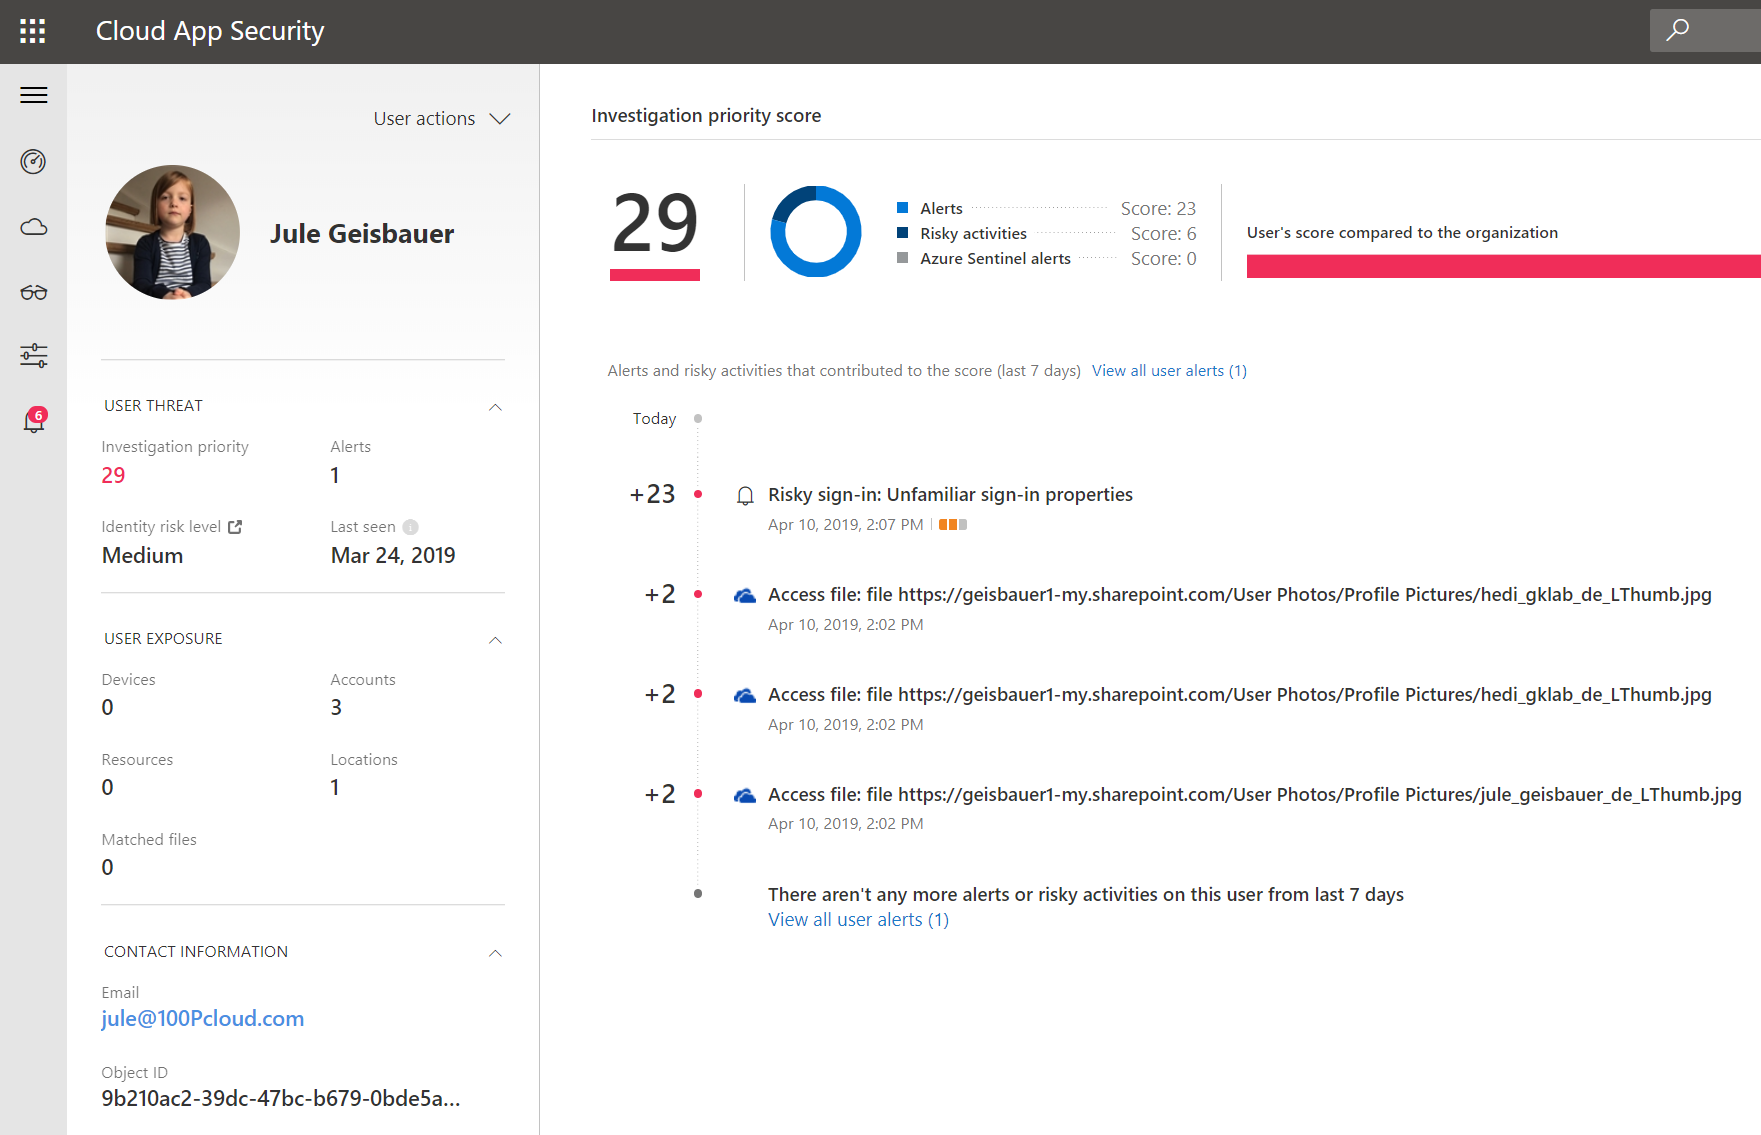
What you can see above is the brand new “User Page” in MCAS (actually, it is so brand new that it is still in private preview, so things could change here, keep this in mind).
Our (IT) world is getting more complex every day. In order to handle more and more alerts, prioritization is key. So, depending on the alerts that come up related to a certain identity, Microsoft is calculating an investigation priority score for this identity.
Because Identity Protection has found a risky sign-in for “Jule”, she got assigned an “investigation priority score” of +23.
On the MCAS Dashboard, we have a new section called “Top users by investigation priority”:
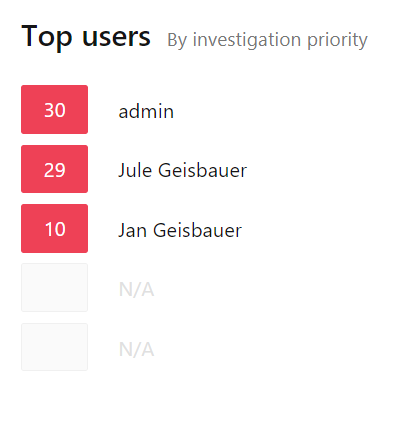
This helps us to prioritize our investigation work. We see “Jule” is under the top three users in my test lab. But wait a minute! Why is a user called “admin” even higher rated?
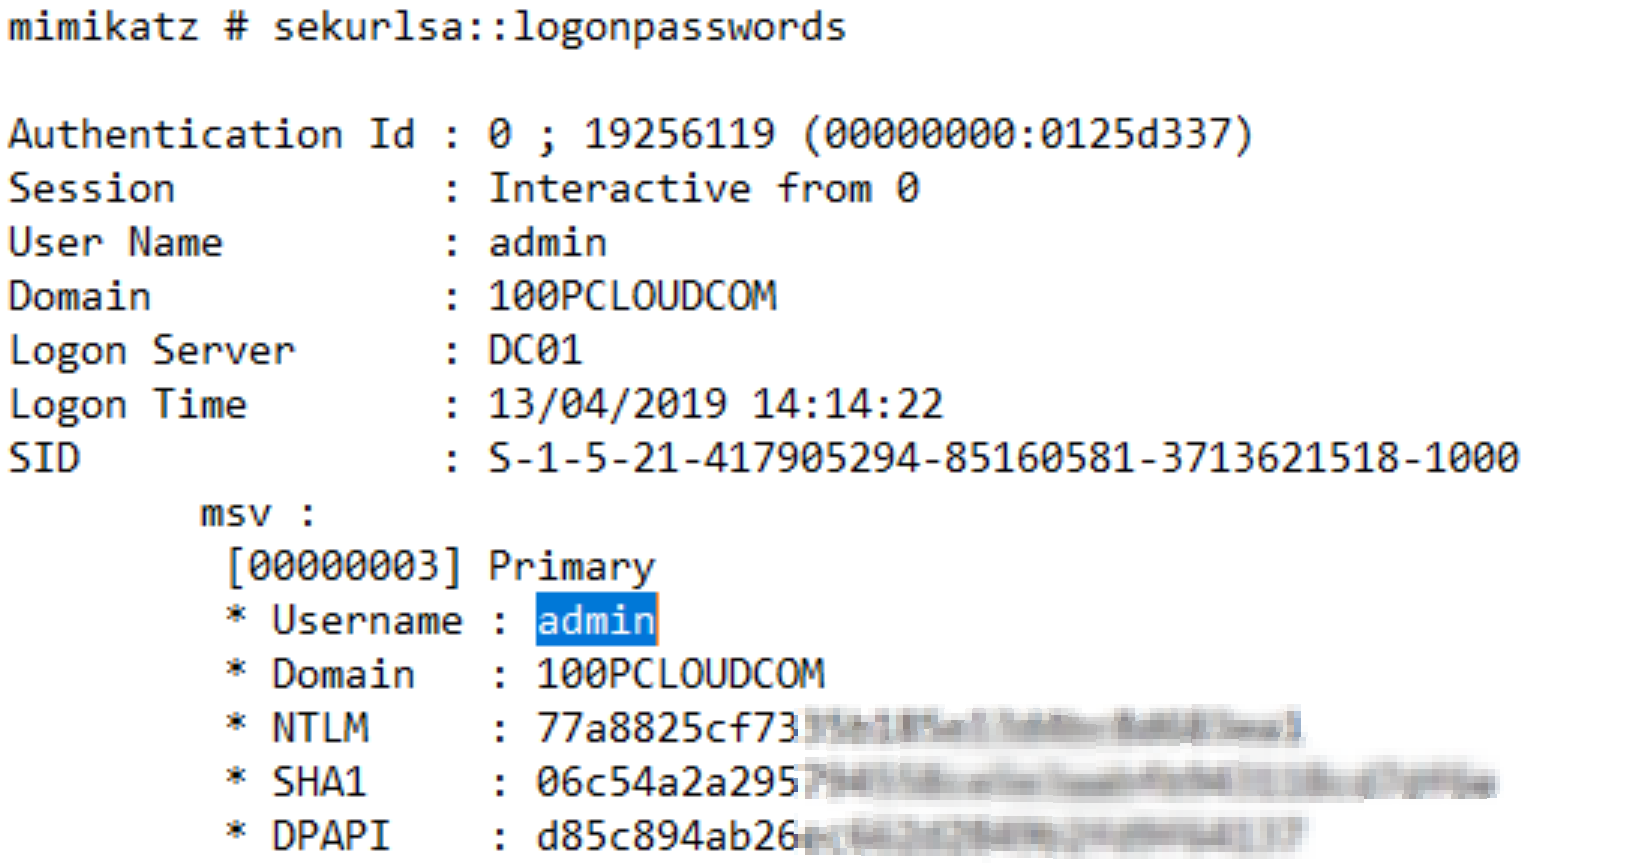
Well, with the stolen credentials, our attacker was able to logon to Jule’s laptop and to install a tool called “mimikatz”. With mimikatz you can do many nasty things, the attacker used it to gain an important password hash. Note: it is not that easy to run mimikatz on an up-to-date Windows machine. E.g. Windows Defender will not let you run it.
However, let’s assume the attacker found a way to run it. The password hash, the attacker is searching for, is in the memory of a Windows component called “Local Security Authority Subsystem Service (lsass)”. To access it, you have to be either local admin or find another way. For our purpose, let’s say Jule was already local admin. With that, the attacker could easily get “Debug” privileges:

He then ran “sekurlsa::logonpasswords” to retrieve the passwords he was looking for from memory.
Anyway, this did not reveal any interesting password hashes yet. Now, lets assume an administrator had to connect via a TeamViewer session to the client in order to support her in whatever case. Let’s further assume, this administrator had to do a “runas” on Jule’s laptop to do his stuff:
Gotcha. That’s exactly what the attacker needed to run “sekurlsa::logonpasswords” again. Now, he found the password hashes from the Admin user, he was looking for:
The attacker could then use mimikatz to take this hash and use it in a “pass-the-hash” (pth) attack. In a nutshell, a pth attack is a attack where the attacker presents the hash of the password to the system it tries to logon instead of the actual password:

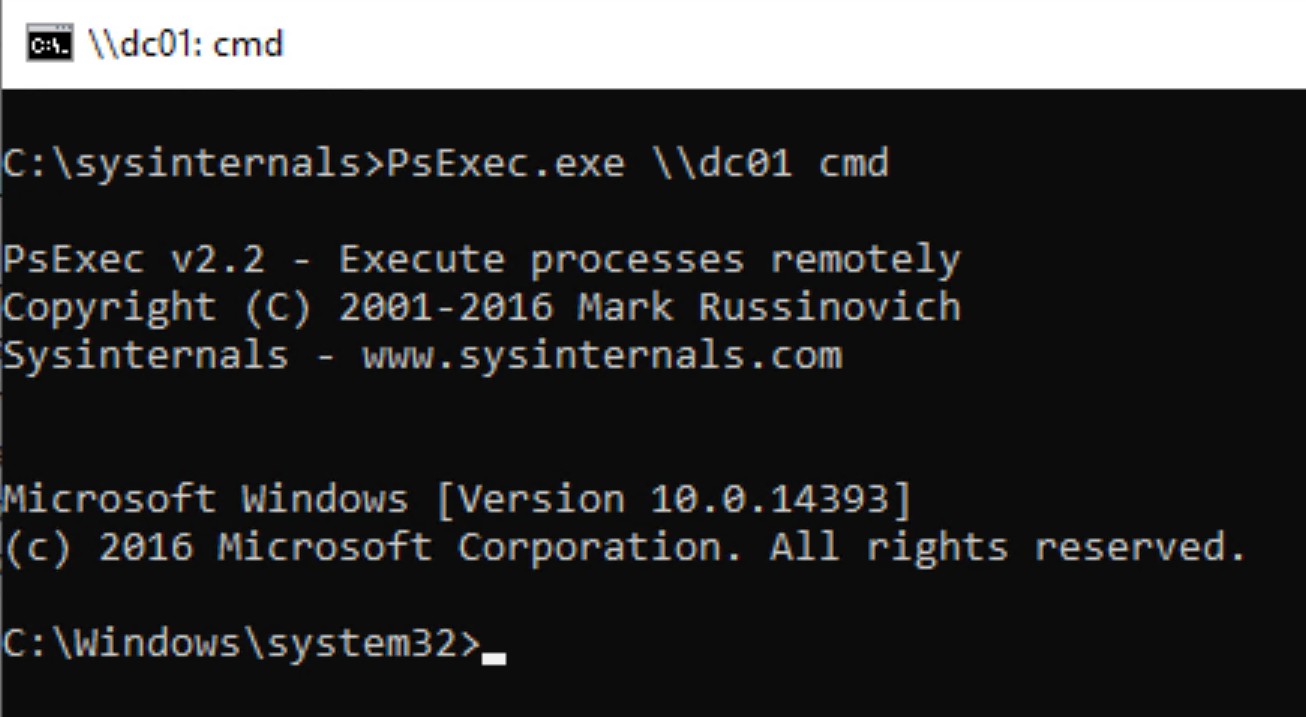
When firing a pth attack, mimikatz automatically opens a new command prompt. The attacker then used psexec to gain a remote shell on the local dc (without suppling admin credentials, remember, the attacker is still on Jule’s Laptop in Jule’s user context with no permission on the domain):
That worked, the attacker now has a remote shell on the domain controller! Let’s see which privileges he now has:
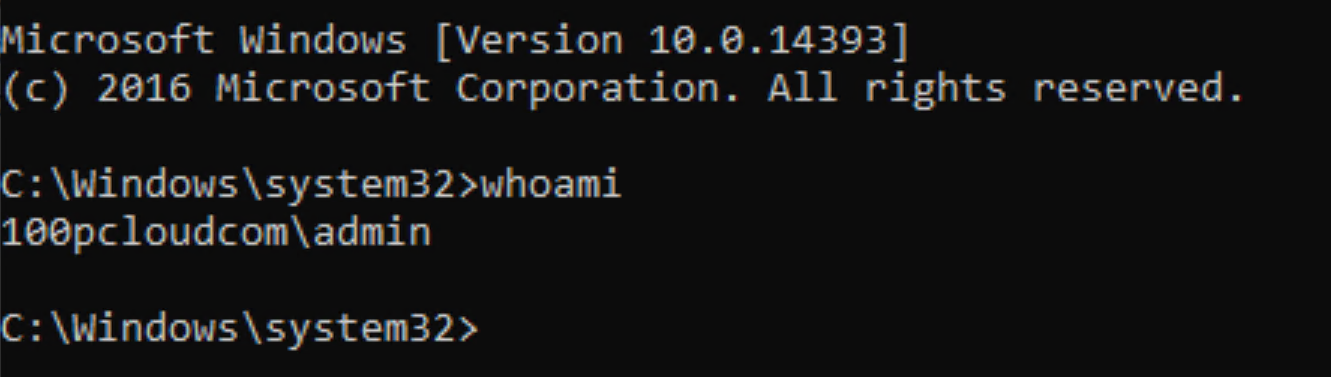
As you can see, the pass the hash attack worked like a charm. Mimikatz impersonated the attacker as admin since he was able to read the password hash of the admin user from memory and passed the pw hash over for logon. (So, never ever use Domain Admin credentials to do local machine admin stuff!).
By analyzing the eventlog and monitoring the traffic on the DC, Azure ATP came up with two new alerts during the attacker’s pth-journey:
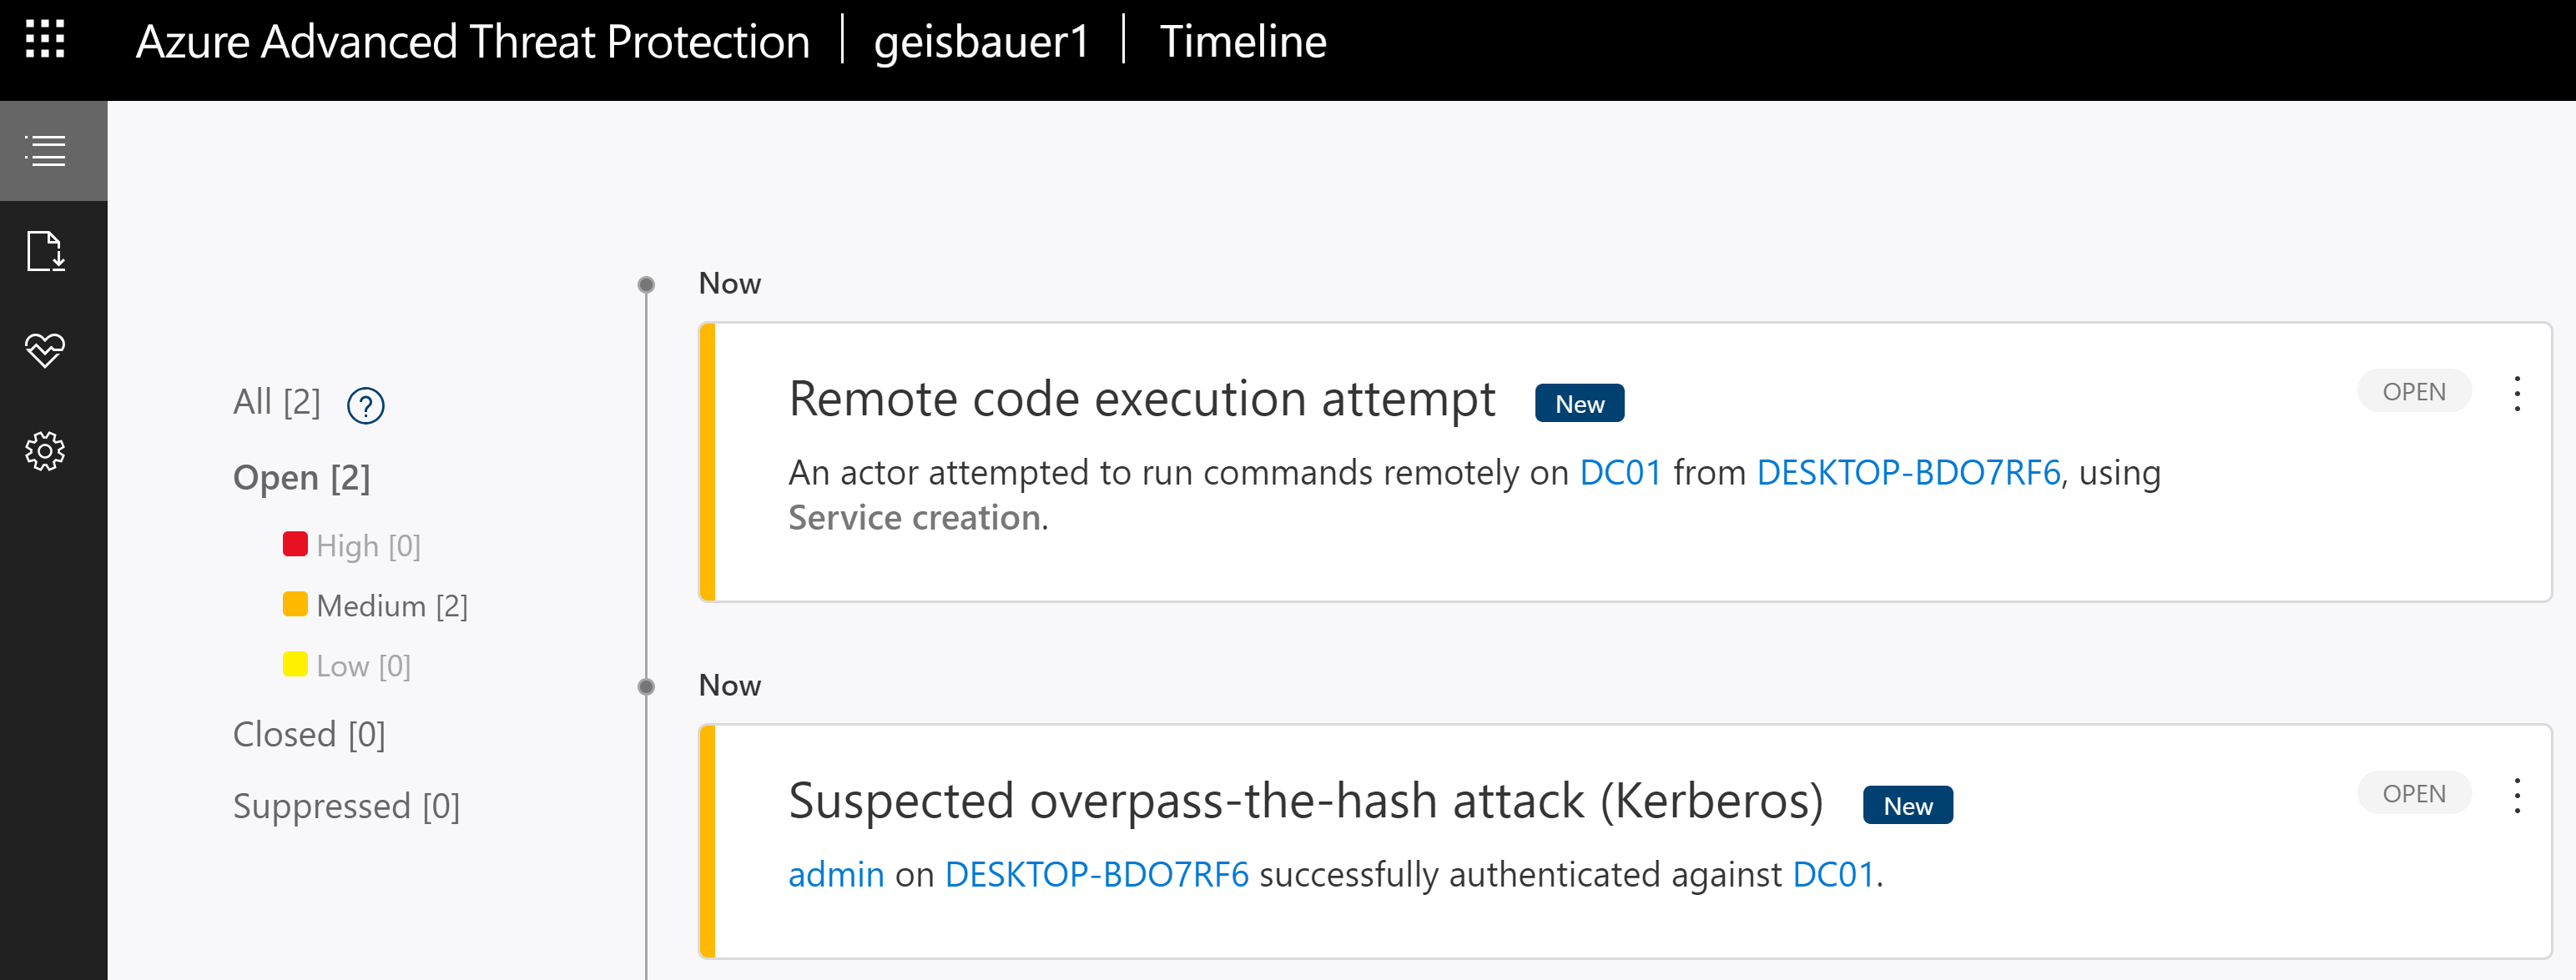
Those alerts are now also visible in MCAS. In fact, we can see here the complete kill-chain in the alerts section – which is great for investigation:
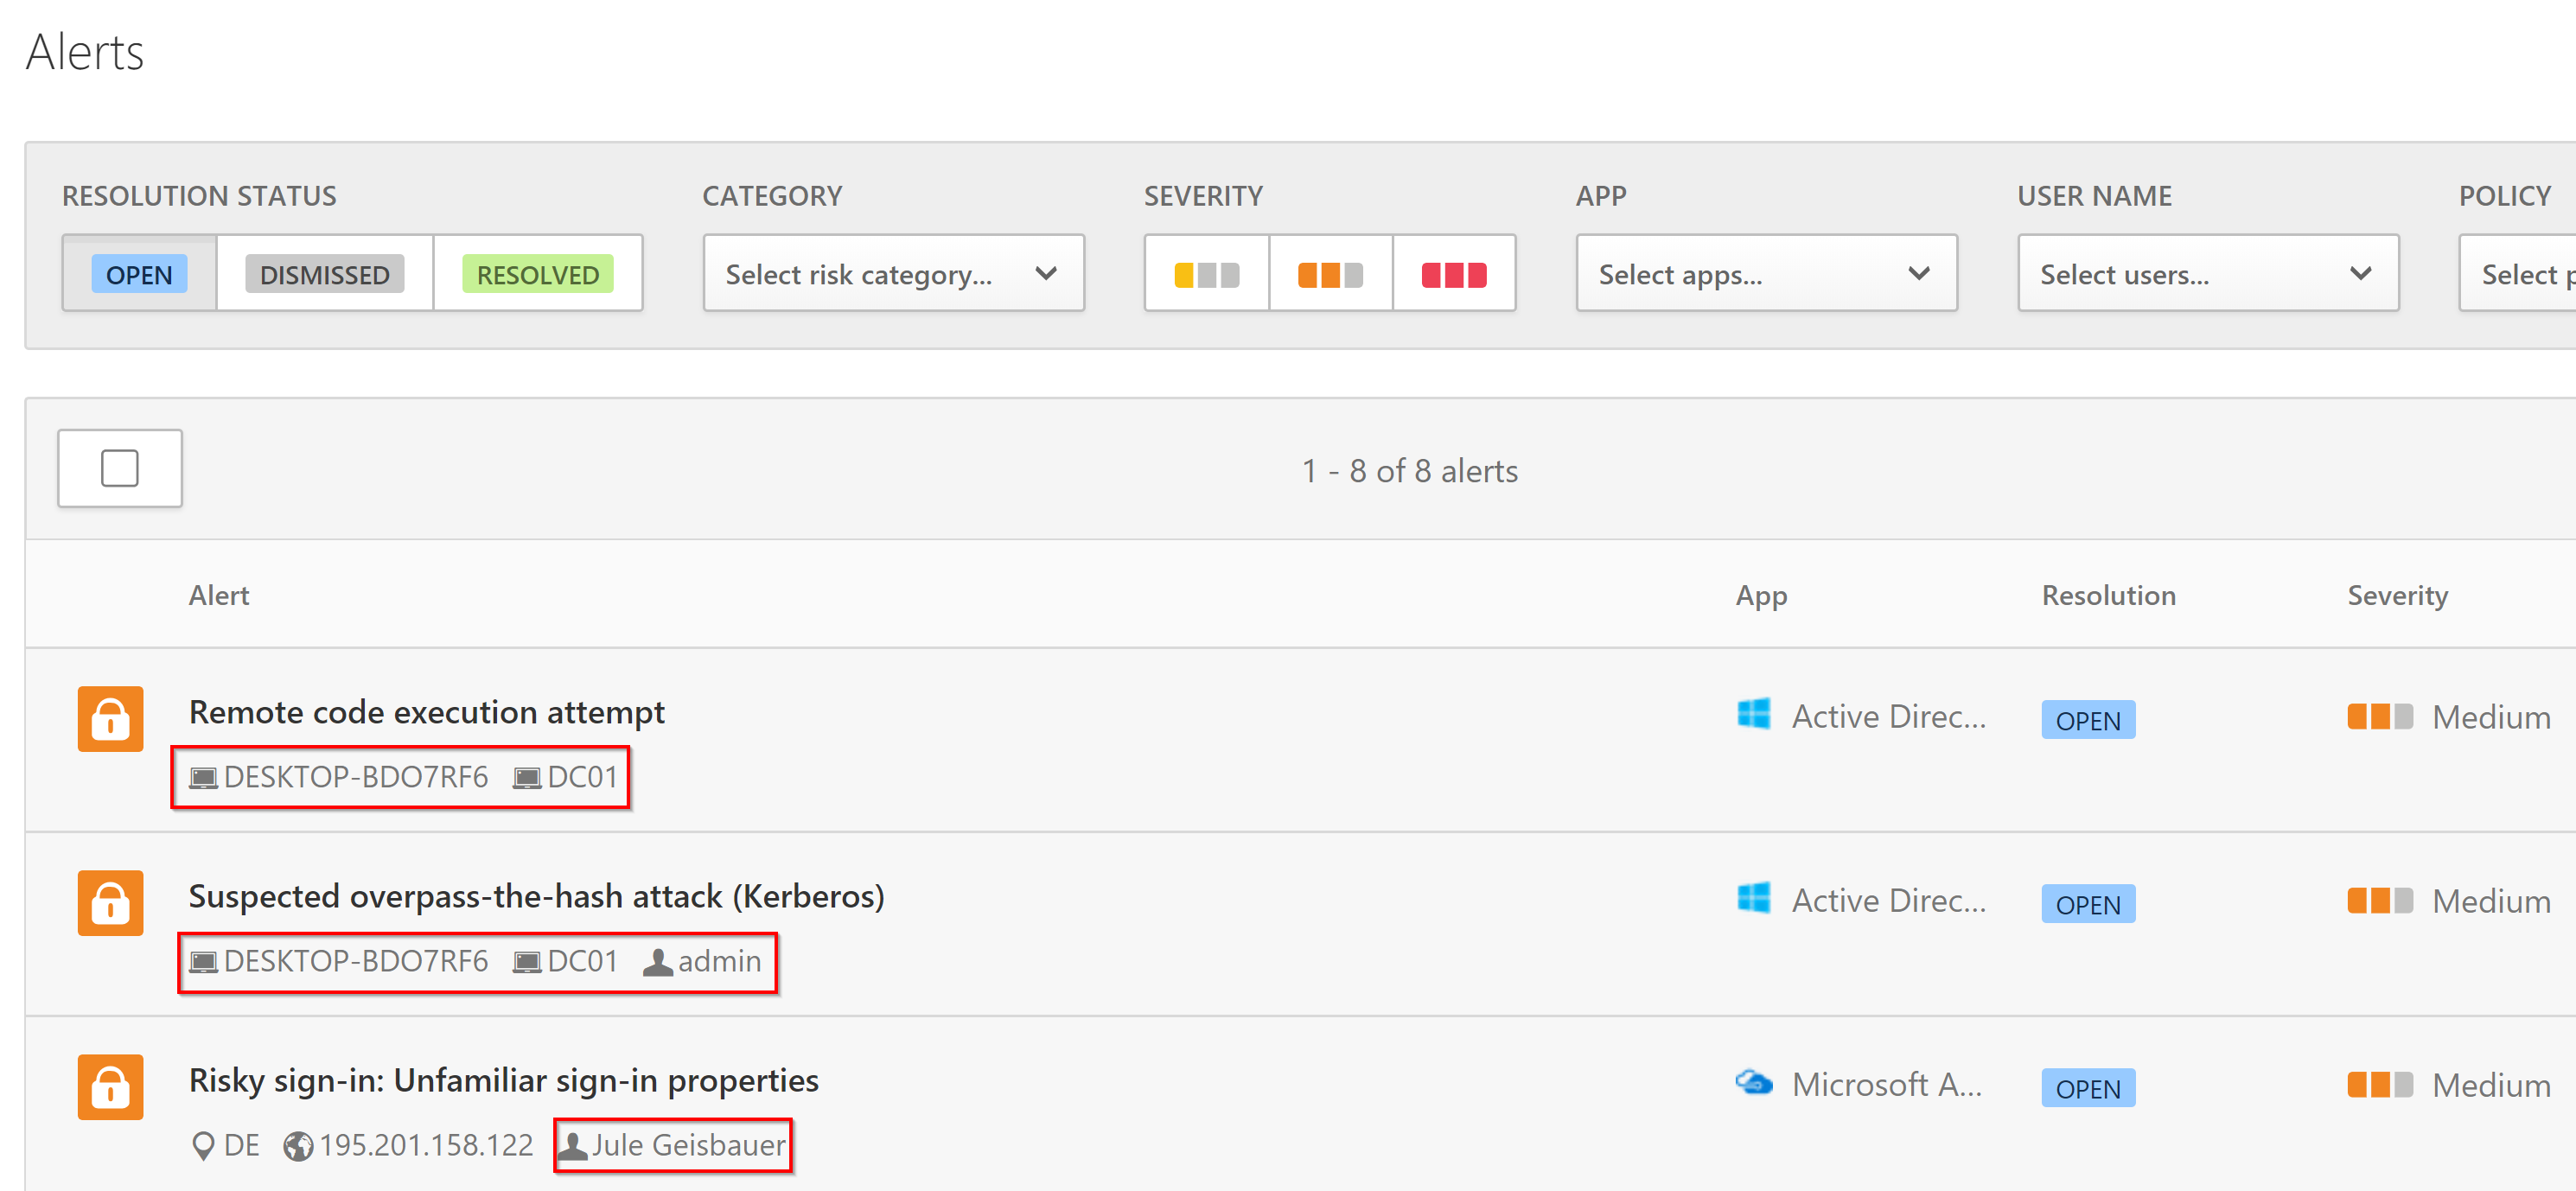
First the risky sign-in, then the pth-attack on “admin”, then the remote code execution from Jule’s Laptop to the DC.
When you simply click on the alert and then on the “admin-tag” you can see, that these alerts then also pay into the investigation priority score on the admin’s user page in MCAS:
When you click on the machine name tag in the alert, you come to the (also brand new) machine page:
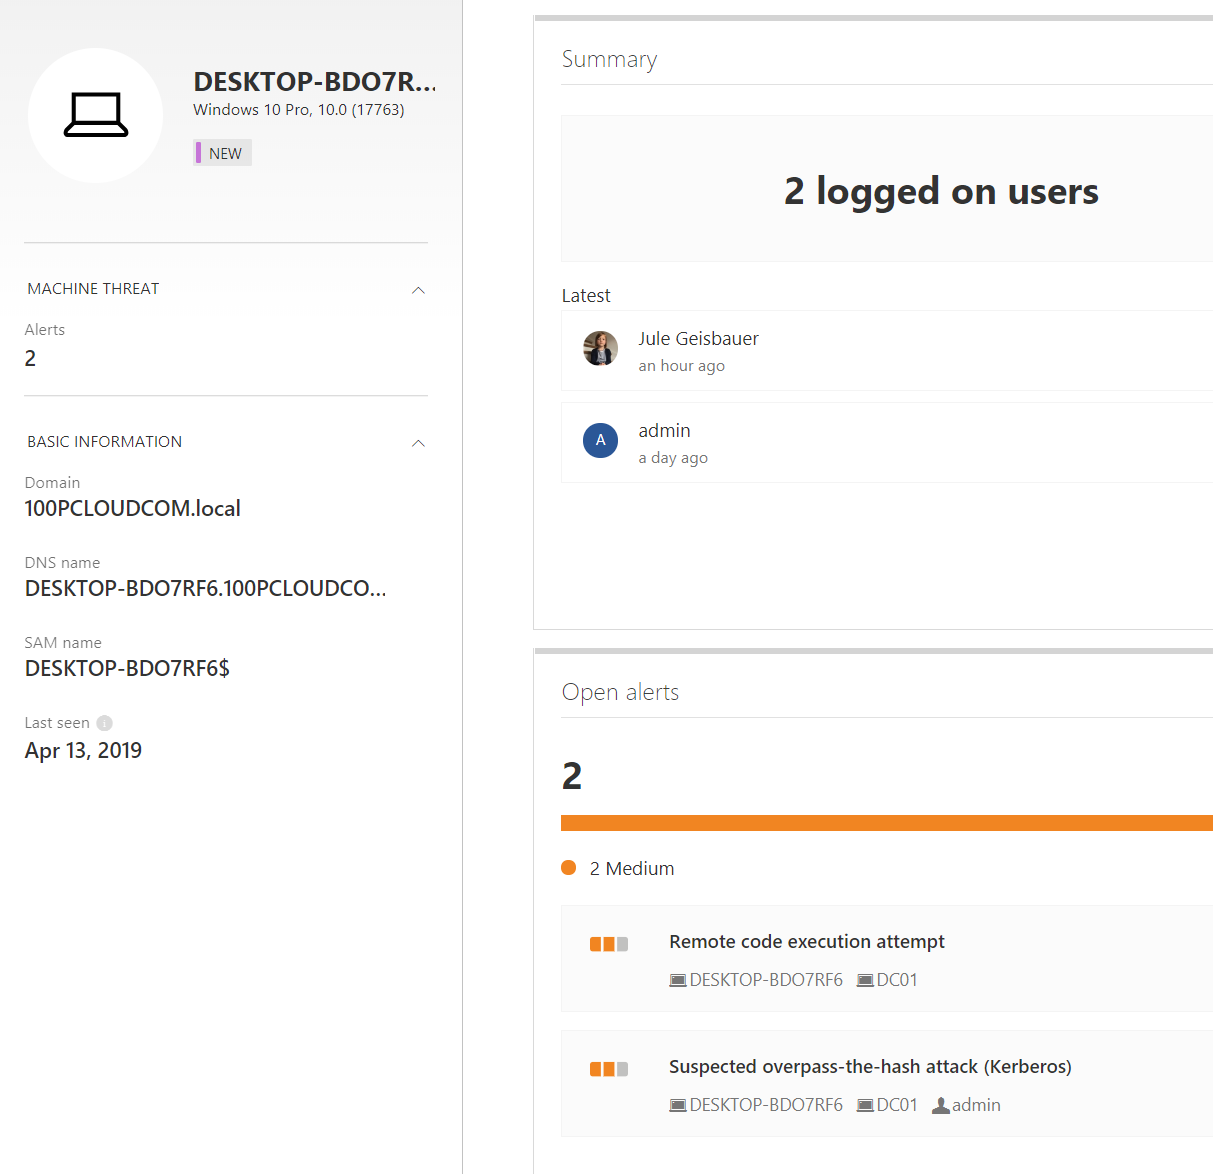
As you can perfectly see here, “jule” and “admin” used their credentials on this machine – also both alerts are associated with the machine. From an investigator’s perspective, we know now exactly what happened.
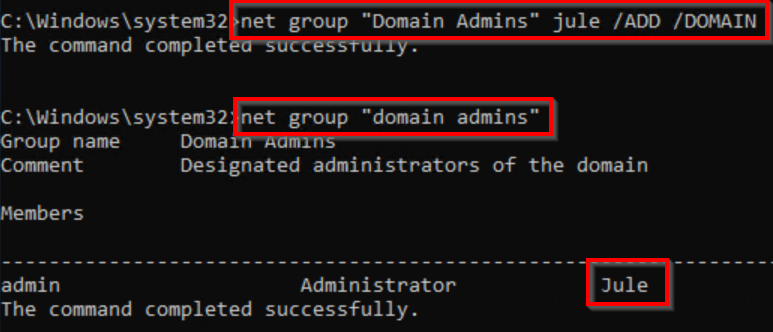
Anyway, back to our kill-chain: since the attacker now has an admin shell (context of user “admin”), he is trying to make his new power more persistent by adding the user account, he is already controlling (Jule), to the Domain Admins group:
The problem, the attacker is facing now, is, he needs to somehow bridge the gap to the cloud. He has domain admin permission locally, but unfortunately, this admin user has zero permissions in the cloud.
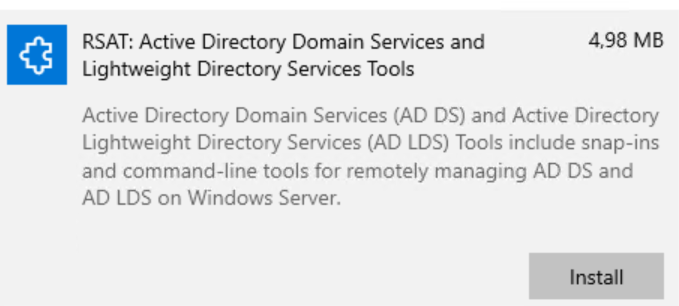
Then he installs the RSAT tools on Jule’s laptop to make things a little more comfortable (by the way, the RSAT tools are an optional windows feature now, which you don’t have to download but only enable in windows optional settings):
By investigating the Active Directory, the attacker finds a promising OU with a promising user:

Since the attacker has compromised Jule’s account and then escalated her user privileges to “Domain Admin” by the pass-the-hash attack, he is now able to change the password of the user “IT Service Admin” and then use it to logon to portal.office.com (remember, we are syncing passwords from on-premises to the cloud):
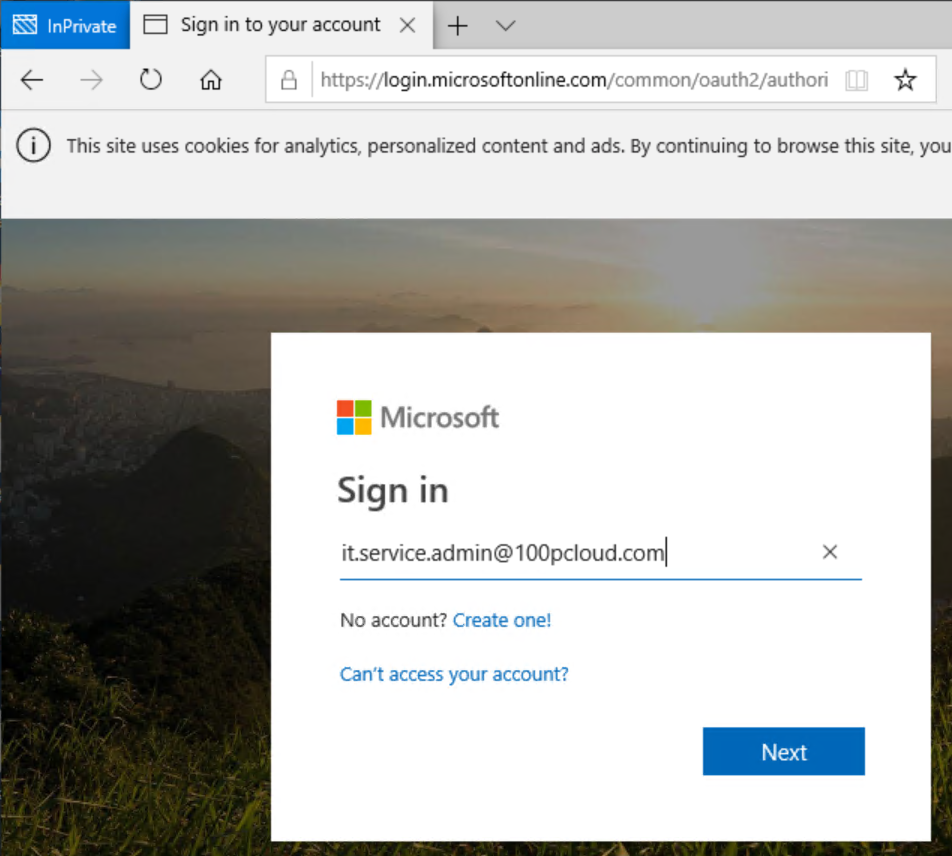
MFA would be another obstacle here, so better enable all users to use MFA. Anyway, our attacker now is one step further:
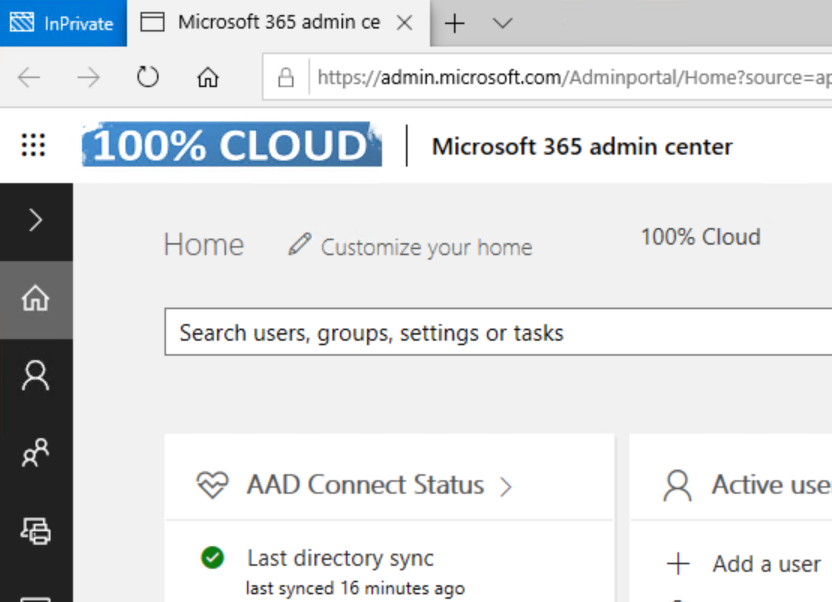
Now he uses the admin center to access the CEO’s OneDrive files, yes, in my lab I’am CEO baby 🙂
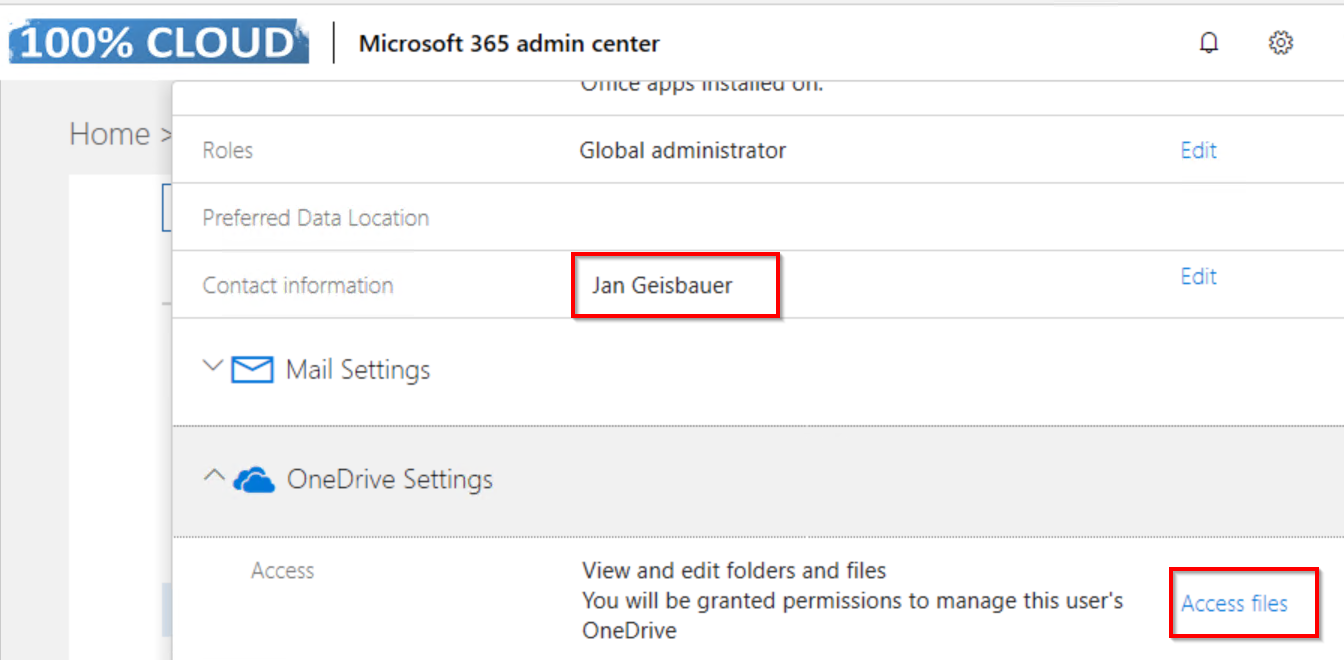
Et voilà:
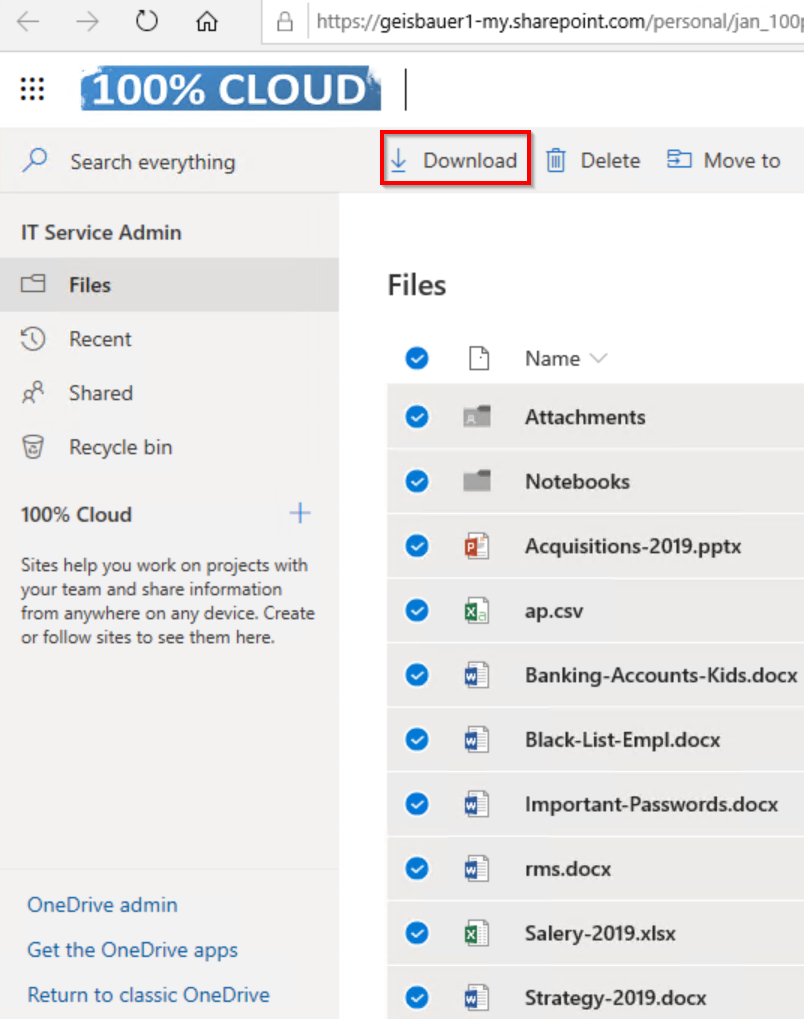
The attacker now only has to download all the files and upload them to his dropbox:
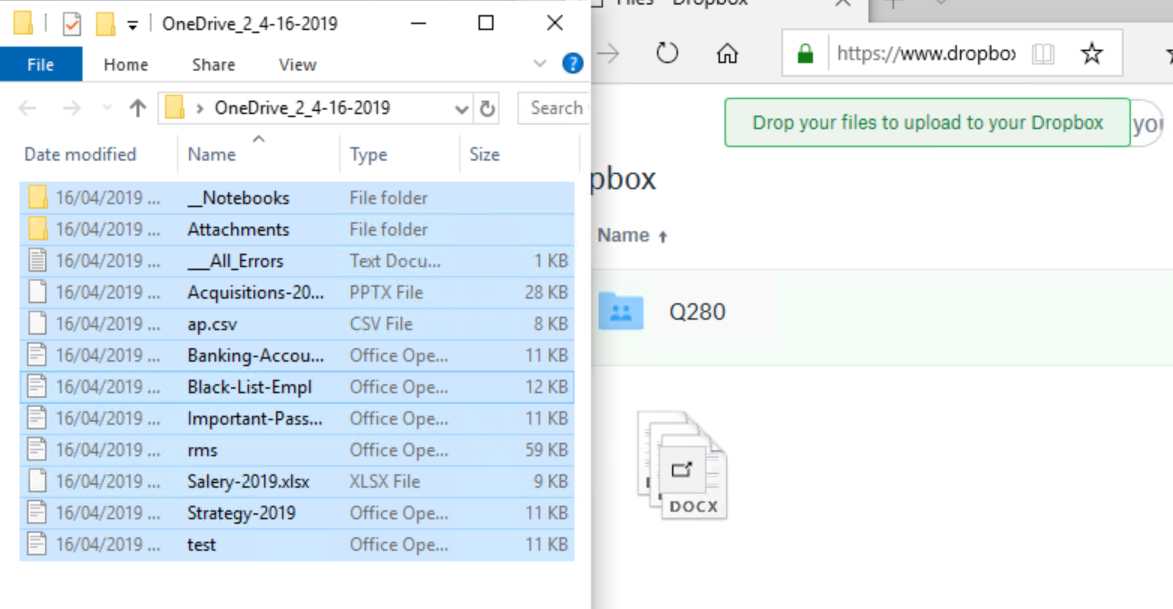
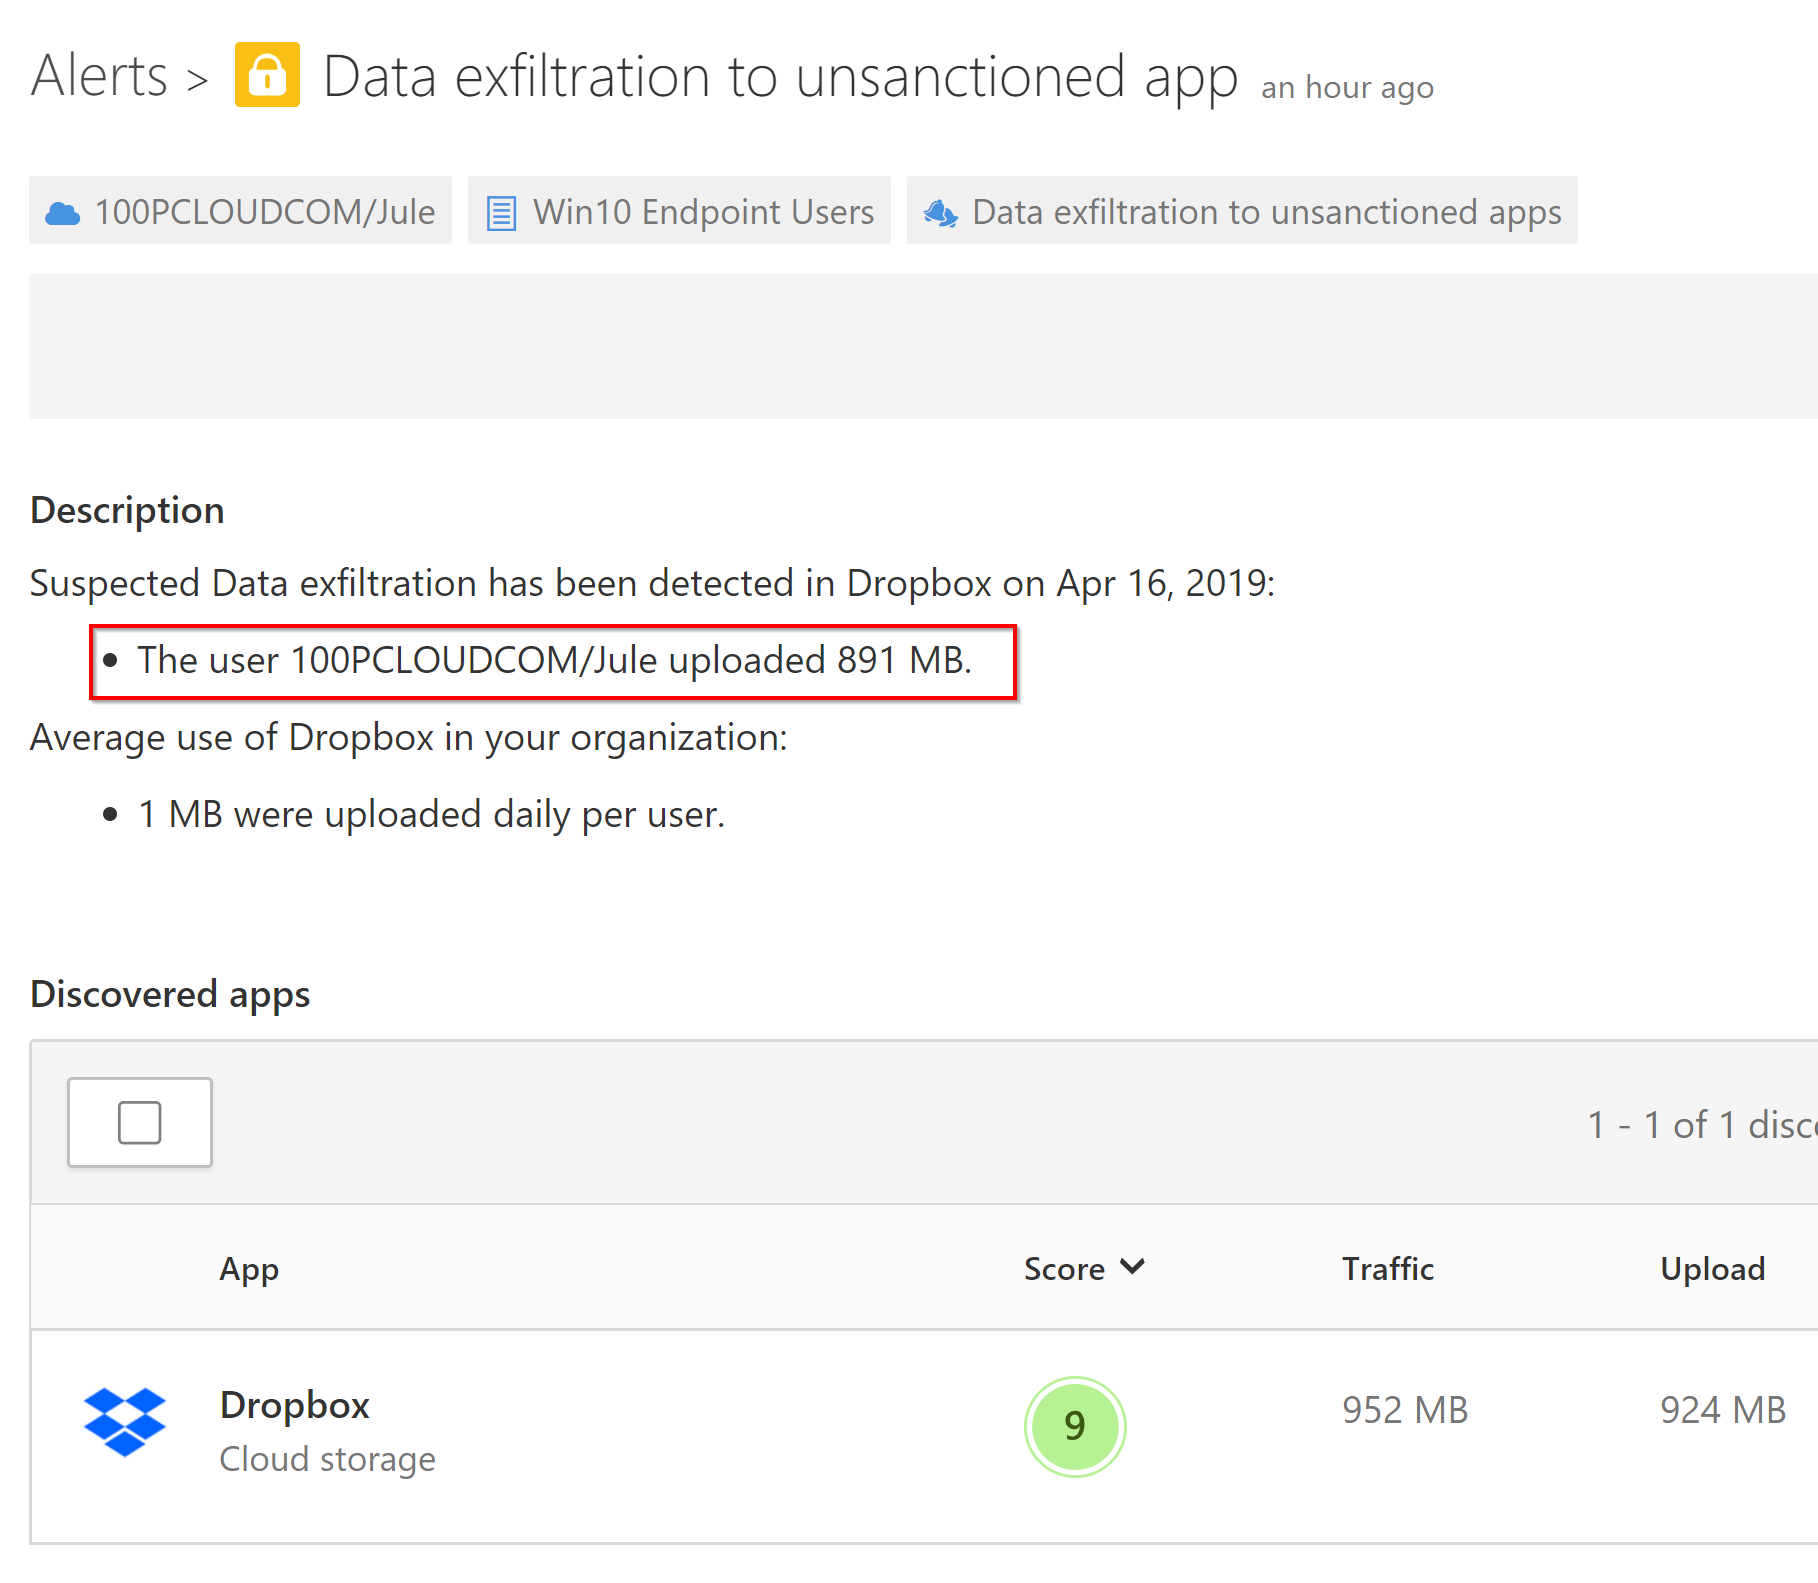
Again, our friend MCAS alerts us here and tells us, there is something going on:
Summary
Beside the fact we paved the way for our attacker a little (we disabled Antivir and made the attacked user ‘Jule’ a local admin right from the start), we saw a nice real-world kill-chain: The attacker escalated the privileges of an account he had compromised before. Then he gained some persistence and then he took over the control of the CEO’s personal files in OneDrive.
More importantly: we showed how the tools from the new Unified Identity SecOps Experiencealerted us in every phase of the kill chain.
We didn’t show how Windows Defender and Microsoft Defender ATP would have prevented all the nasty things the attacker did, but I showed that already in another post.
Some people say, when it comes to ‘Security’, you need diversity (in regards to the manufacturer). Actually, I believe the real power here comes from the smooth integration of the different tools. As you have seen, it looks like Microsoft is doing a pretty good job in this area.
